Convert Website Screenshot to Figma: A Practical Guide
Originally published on Crafttor.
Websites are long, wide and full of sections. That makes them different from a single app screen. If you want to convert a website screenshot to Figma, the way you capture and split the page decides how clean the final file is.
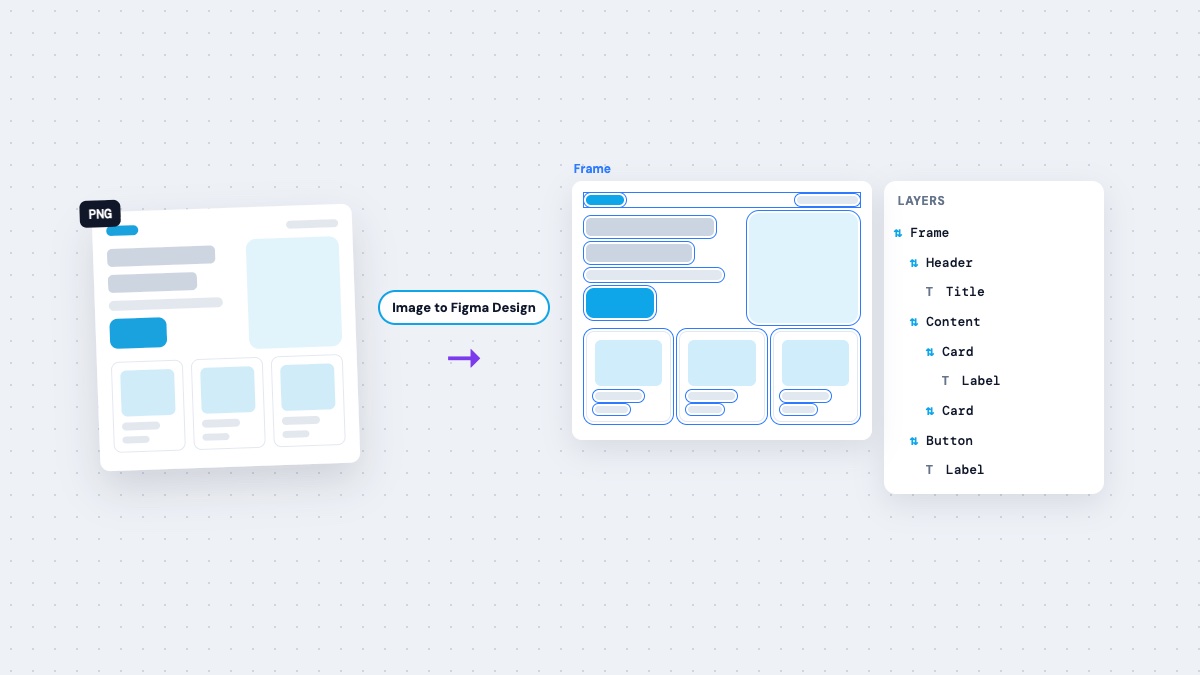
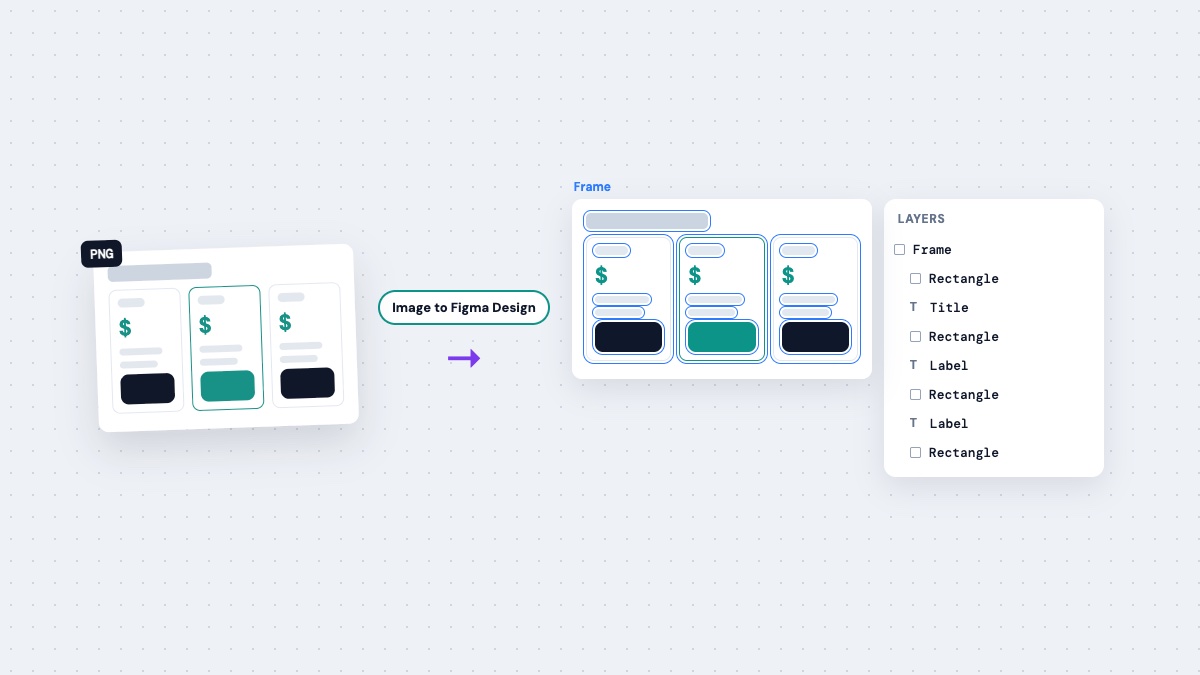
This guide covers full-page capture, a section-by-section method, and how to reassemble everything in Figma using the Image to Figma Design plugin.
Why websites are trickier than app screens
A typical marketing page might have a navigation bar, a hero, logo strips, feature grids, testimonials, pricing tables and a footer. Captured as one image, it can be many times taller than it is wide.
Very tall images cause two problems:
- Detail gets lost. Tools may scale a huge image down, and small text suffers.
- Structure gets muddled. A converter has to reason about many unrelated sections at once.
The fix is simple. Capture the page in logical sections and convert each one.
How to capture a website properly
Option 1: Full-page capture with browser DevTools
Chrome and Edge include a built-in full-size screenshot command.
- Open the page and press F12 to open DevTools.
- Press Cmd+Shift+P on Mac or Ctrl+Shift+P on Windows.
- Type "screenshot" and pick "Capture full size screenshot".
This gives you the whole page as one PNG. Use it as a master reference, then crop it into sections.
Option 2: Capture each section directly
In the same command menu, "Capture node screenshot" grabs just the element you selected in the Elements panel. Select the hero container, capture it, then repeat for each section. This often gives the cleanest crops.
Option 3: Region screenshots
Use your system shortcut, Cmd+Shift+4 on Mac or Win+Shift+S on Windows, to drag around each section. Scroll, repeat, and keep the browser width the same throughout.
Before you capture
- Pick one width and stick to it. A common desktop width keeps all sections consistent.
- Set zoom to 100 percent. Otherwise sizes in Figma will not match the live site.
- Dismiss overlays. Cookie banners, chat widgets and sticky promo bars get rebuilt as layers if they are visible.
- Watch sticky headers. A fixed nav can appear repeated in every section capture. Hide it after the first section, or crop it out.
- Let lazy content load. Scroll the full page once so images and animations are loaded.
Convert each section, step by step
- Install Image to Figma Design from the Figma Community.
- Create a new page in Figma called something like "Website rebuild".
- Run the plugin and sign in with a free Crafttor account.
- Add the first section by dragging, browsing or pasting.
- Choose Turbo AI if you want each section built as nested auto layout frames. Choose Fast for a quicker reference.
- Convert, then repeat for each section.
- Stack the sections in order inside one tall parent frame.
On paid plans you can queue several section screenshots and convert them in one go. See our guide to batch converting screenshots.
Reassembling the page in Figma
Once every section is converted, put them back together:
- Create a parent frame at your capture width.
- Turn on vertical auto layout with zero gap.
- Drag each converted section into it, in page order.
- Set each section to fill the container width.
Now the page behaves like one design. You can reorder sections by dragging, remove one, or insert a new one between others.
Handling common website elements
Navigation menus. Dropdowns are hidden in a static capture. Open the menu and capture it separately if you need it.
Carousels and sliders. Only the visible slide gets captured. Capture other slides one by one if they matter.
Background videos and animations. A screenshot freezes one frame. Treat it as an image layer.
Hero illustrations. Busy artwork and heavy gradients are hard to rebuild as shapes. Keep them as images.
Long text blocks. These convert well as text layers. Check line breaks and fonts afterwards.
Screenshot or URL importer?
If the site is public and live, a URL importer such as html.to.design is another option. It reads the page's HTML and CSS rather than pixels. A screenshot converter is useful when the page sits behind a login, no longer exists, or you only have images. Our html.to.design vs screenshot to Figma comparison helps you choose.
Want code instead of layers?
Image to Figma Design can also give you a downloadable HTML file of the converted section. That is useful for quick prototypes. Read more in our screenshot to HTML guide.
Permission comes first
Convert websites you own, manage for a client, or have permission to use. If you are studying a competitor, rebuild for learning and do not publish a copy.
Rebuild your first page
Choose one page, capture it in sections, and see how fast it comes together. Install Image to Figma Design and start with your free daily credits.
FAQ
Can I convert a full-page website screenshot in one go?
You can, but splitting it into sections usually gives cleaner text and structure. Convert each section, then stack them in Figma.
How do I take a full-page screenshot without an extension?
In Chrome or Edge, open DevTools, open the command menu, and choose "Capture full size screenshot".
Will the converted website be responsive?
Turbo AI builds nested auto layout frames, which resize much better than fixed layers. You will still want to set fill and hug options for your breakpoints.
What about pages behind a login?
Screenshots work for any page you can see, including logged-in dashboards. Capture them the same way and convert section by section.
About the author
- Building Figma plugins at Crafttor: PSD to Figma, Image to Figma and motion tools.
Comments
Join the discussionNo comments yet. Be the first to comment.