Recreate UI From Screenshot: A Clean Rebuild Workflow
Originally published on Crafttor.
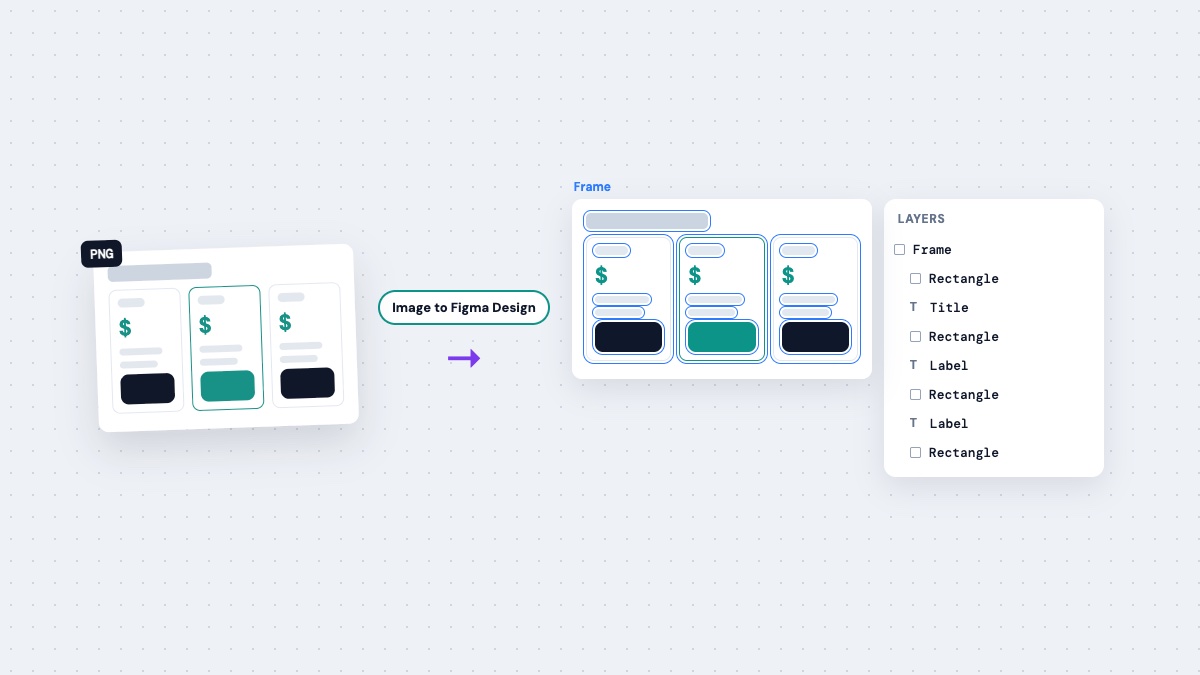
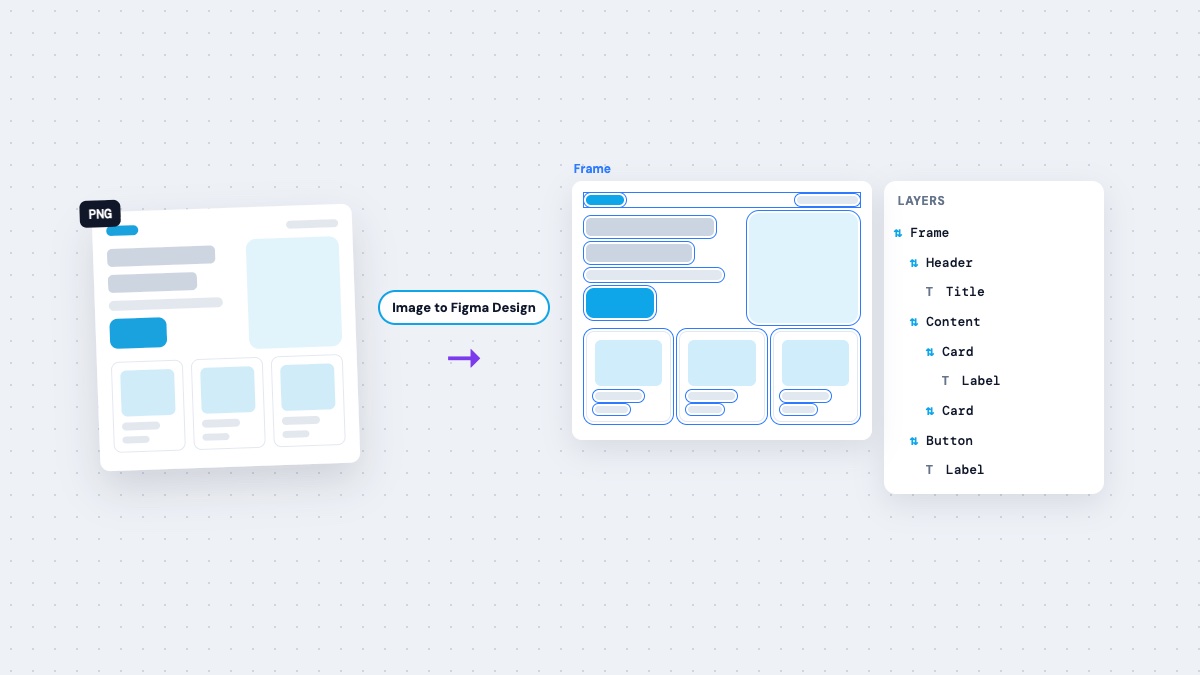
Converting an image is the easy part. What most people really want is to recreate UI from a screenshot as a clean file: named layers, real components, consistent spacing and styles. This guide is about that full journey, from a raw screenshot to a Figma file you would happily hand to a teammate.
We will use Image to Figma Design for the conversion step, then focus on the rebuild habits that turn a draft into a solid design.
The three-stage workflow
Think of recreation as three stages:
- Capture. Get the cleanest possible screenshot.
- Convert. Turn it into editable layers.
- Rebuild. Organize, systematize and polish.
Most frustration comes from skipping stage one or stopping after stage two. Let us go through each.
Stage 1: Capture with intent
Before you take the screenshot, decide what you are recreating and why.
- A single component? Capture just that element, not the whole page.
- A full screen? Capture the content area without browser chrome.
- A flow? Capture every step in order, at the same size.
Then follow the basics: 100 percent zoom, no overlays, and a resolution around 1x to 2x of the real UI. Our screenshot to Figma guide has a full capture checklist.
Stage 2: Convert into editable layers
- Install Image to Figma Design from the Figma Community.
- Create a page called "Rebuild" and place your original screenshot there for reference.
- Run the plugin and sign in with a free Crafttor account.
- Add the screenshot by drag-and-drop, browse or paste.
- Choose Turbo AI so the result arrives as nested auto layout frames. For recreation work, this saves the most time.
- Convert and place the result next to the original.
Stage 3: Rebuild into a clean file
This is where a converted draft becomes a real design. Work top-down, in this order.
3.1 Compare with an overlay
Place the original screenshot on top of the converted frame at 50 percent opacity. Differences jump out immediately. Fix spacing or size where it matters for your goal.
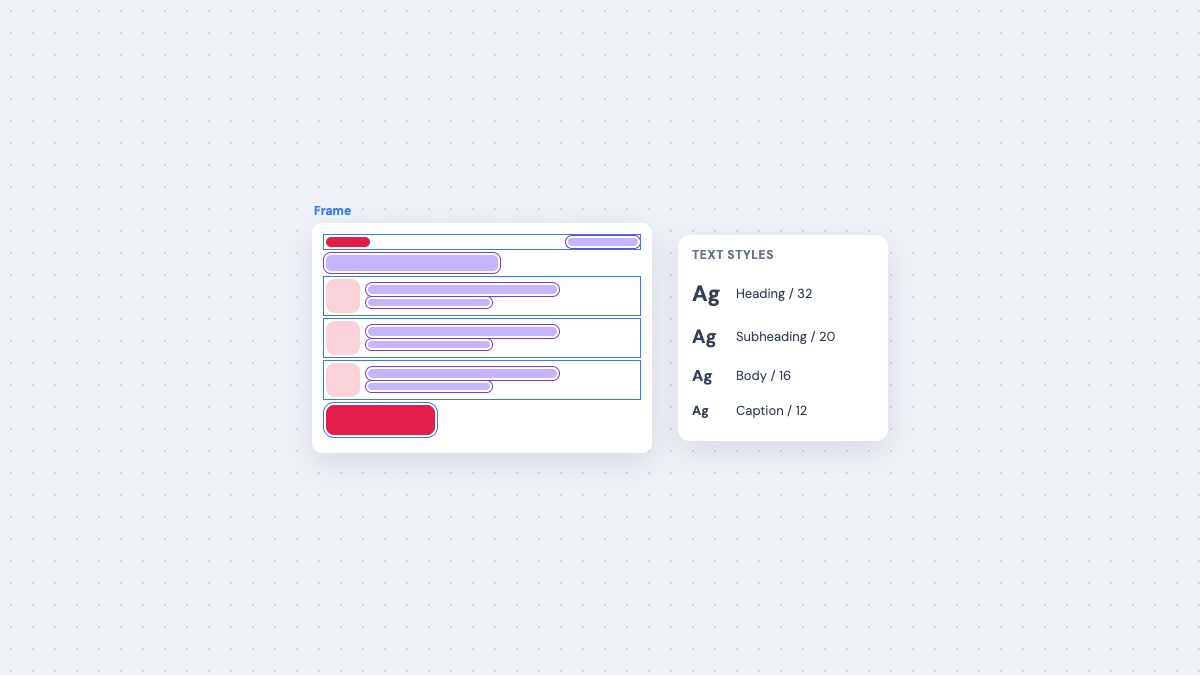
3.2 Set up text styles
List the text sizes you see: page title, section heading, body, caption, label. Create a text style for each. Apply them across the converted text layers. This alone makes the file feel organized.
3.3 Set up color styles or variables
Pick the main colors from the converted fills. Create color styles or variables for background, surface, text, primary and border. Replace hard-coded fills with them.
3.4 Extract components
Look for anything that repeats: buttons, inputs, cards, list rows, tags, avatars. Clean up one instance, make it a component, and swap the duplicates for instances.
3.5 Replace icons and images
Converted icons work as placeholders. Replace them with vectors from your icon library. Swap photos for original or placeholder assets.
3.6 Name everything that matters
Rename top-level frames and components with clear names. Teammates should find "Pricing card" without opening every group.
3.7 Test the layout
Change a heading, add a list item, and resize the frame. Fix any section that does not respond the way you expect. Our auto layout from image guide explains how to check and adjust structure.
How long should this take?
It depends on the screen and your standards. A simple screen may need only a quick pass. A dense one with many components takes longer. The point is that you spend your time on design decisions, not on redrawing rectangles. If you want to weigh the effort honestly, our manual rebuild vs plugin comparison breaks it down.
Common rebuild mistakes
- Polishing pixels before structure. Fix frames and auto layout first, then fine-tune.
- Creating components too early. Clean up one instance properly before making it a component.
- Ignoring text styles. Unstyled text makes later changes painful.
- Keeping converted icons. They look fine at a glance but are not true vectors from your set.
- Recreating everything. If you only need the header, convert and rebuild only the header.
When to use Fast instead
Fast mode costs 1 credit and is quicker. It is a good choice when you plan to redraw from scratch and only want an accurate traced reference with real text. For a full recreation where you keep the structure, Turbo AI at 2 credits usually saves more time overall.
What converters cannot do for you
No tool knows your design system, your naming rules or your product decisions. Busy illustrations, heavy gradients and blurry screenshots also reduce accuracy, and complex screens may need light cleanup. The converter gives you a strong head start. The rebuild stage is still your craft.
Recreate responsibly
Recreate UI you own or have permission to use. When you rebuild other products to learn, keep the file as study material and do not ship copies.
Start your next rebuild
Pick one screen you have been meaning to recreate and follow the three stages. Install Image to Figma Design and use your free daily credits for the conversion step.
FAQ
What is the fastest way to recreate UI from a screenshot?
Convert the screenshot into editable layers with a plugin, then spend your time on styles, components and naming instead of redrawing shapes.
Should I use Fast or Turbo AI for recreation?
Turbo AI is usually better because it builds nested auto layout frames you can keep. Use Fast for a quick traced reference.
How do I check that my recreation matches?
Place the original screenshot over your frame at 50 percent opacity and compare. Fix differences that matter for your goal.
Can I recreate UI from any app?
Technically yes, but only recreate designs you own or have permission to use. Rebuilds of other products should stay as study material.
About the author
- Building Figma plugins at Crafttor: PSD to Figma, Image to Figma and motion tools.
Comments
Join the discussionNo comments yet. Be the first to comment.